Integrations
Mailbox connections, permissions, and sign-in issues.
There are three doors, and the right one depends on who owns the mailboxes. Pick from this table and follow the linked article.
- 1Your company runs Google Workspace or Microsoft 365 and you want the whole sales team connected: use Connect your whole team. One approval from your IT admin, nobody signs in, new hires are a tick box. Takes IT about two minutes.
- 2You bought inboxes from a mailbox provider (Litemail, Mailforge, Mailreef, Zapmail, Premium Inboxes, or an agency reselling them) and the domains are not yours to administer: upload the provider's file. Settings → Integrations → Connect → Upload from your provider (CSV). Each inbox verifies itself in the background. Most of these providers give you Google Workspace inboxes, so the file needs an app password per inbox — see the guide.
- 3It is just you, or a personal Gmail or Outlook.com address: sign in yourself. Settings → Integrations → Connect → Google (Gmail) or Microsoft (Outlook).
- 4Not sure who administers your domain? The person who set up your work email, or whoever adds new starters, is the admin. Send them the link Monty gives you and they will know.
You can mix them. A team can have thirty inboxes through the admin approval, ten bought inboxes from a CSV, and one founder's personal Gmail — the plan's mailbox count is what limits the total.
You do not need anyone's password and nobody on the team signs in to anything. Your IT admin does one thing on their side — about two minutes — and then you choose which inboxes Monty uses from a list. Here is the whole flow from your side.
- 1In Monty, open Settings → Integrations and click Connect. Under Your whole team, choose Google Workspace or Microsoft 365. If you are still in the setup wizard, the same card is on the Connect step.
- 2Monty shows you a link and a ready-written email. Click Copy email to IT and paste it to whoever administers your company's Google Workspace or Microsoft 365. It explains what they are approving and links them to a page with the exact steps. The link works once and for seven days.
- 3Wait. The card on your Integrations page says Waiting for IT and updates by itself; you can close the tab. If the admin hits a problem, their attempt and the reason show on your card, so you can chase it without a call.
- 4When the card turns into Approved · choose inboxes, click Choose inboxes. You see your company directory. Tick the people Monty should send from and watch replies for, and click Connect. Only a workspace admin in Monty can do this step; if you are not one, the card tells you who to ask.
- 5Each ticked inbox appears in your Mailboxes list marked via your admin and starts warming up like any new inbox. A new hire later is one more tick in the same list. Nobody signs in.
If the admin has a question about what they are granting, the page they land on answers it, and so does the article for their provider below. They do not need a Monty account.
Someone on your sales team has asked you to let Monty (montyai.co) read and send from the team's inboxes. You do this with domain-wide delegation: you add one client ID in Admin Console and Monty can then act only for the users your team picks. It takes about two minutes, needs a super admin, and does not go through a per-user consent screen. The link you were sent opens a page with the same steps and copy buttons for each value; this article is the same thing in writing.
- 1Sign in to admin.google.com as a super admin and open Security → Access and data control → API controls → Manage Domain Wide Delegation. The direct address is admin.google.com/ac/owl/domainwidedelegation.
- 2Click Add new. In Client ID, paste the number from the page Monty sent you (it is the OAuth client ID of Monty's service account; it is not a secret).
- 3In OAuth scopes, paste the scope list from the same page as one comma-separated line, then click Authorise. The four scopes are Gmail read, Gmail send, Gmail modify (to mark and label threads) and directory user read-only (so your team can see the user list to tick). Nothing else.
- 4Back on the Monty page, type your admin address and click Check it worked. Monty makes one test call as you — it reads one page of the user list and your own Gmail profile — and shows a tick, or the exact thing to fix: the client ID was not saved, the scope list does not match, or the address is not a super admin.
- 5Done. You can close the page. Your colleague now picks which inboxes Monty uses; Monty never acts for anyone they do not tick.
To remove Monty later, delete the same Client ID from the Domain-wide delegation page. Every inbox disconnects at once and Monty's Integrations page tells the team why.
Someone on your sales team has asked you to let Monty (montyai.co) read and send from the team's inboxes. You approve it once as a Global Administrator on Microsoft's own consent page; Monty then acts only for the mailboxes your team picks. One click, no per-user sign-ins.
- 1Open the link you were sent and click Approve on Microsoft. Sign in as a Global Administrator if asked.
- 2Microsoft lists the permissions: Read and write mail in all mailboxes, Send mail as any user, and Read all users' full profiles. These are application permissions — the standard shape for a service that acts for a team rather than one signed-in person. Monty's own controls limit it to the mailboxes your team ticks; see the tip below for enforcing that on your side as well.
- 3If Microsoft shows a Publisher not verified notice: that is Microsoft's label for a company that has not yet completed its Partner Center verification, which Monty is working through. The permissions and the app are the same either way; the notice is about paperwork, not access.
- 4Click Accept. Microsoft sends you back to the Monty page, which confirms it worked and tells you that you can close it. Your colleague now picks which inboxes Monty uses.
To restrict Monty to a specific group of mailboxes at the Exchange level, create a mail-enabled security group containing the sales team and run New-ApplicationAccessPolicy in Exchange Online PowerShell with Monty's app ID, the group, and RestrictAccess. Email hello@montyai.co and we will send the exact command with our app ID filled in. To remove Monty later, open Entra → Enterprise applications → Monty and delete it; every inbox disconnects at once.
Once the card on Settings → Integrations says Approved · choose inboxes, a workspace admin in Monty picks the people. Nothing is connected until you tick it.
- 1Click Choose inboxes on the card. Monty reads your company directory and lists everyone with a mailbox. Search by name or email if the list is long.
- 2Tick the people Monty should send from and watch for replies. Tick all selects everyone who can be connected. Suspended accounts are shown greyed so the count matches what your admin knows, and anyone already connected another way (they signed in themselves) is marked rather than duplicated.
- 3Watch the line under the list. It shows how many more inboxes your plan has room for; if you tick past it, Connect stays disabled and the line says how many to untick or that you can upgrade in Billing.
- 4Click Connect. Each inbox appears in Mailboxes marked via your admin and starts the warm-up ladder like any new inbox. Later, Add or remove inboxes on the same card brings the list back — a new hire is one tick.
Reconnect does not apply to these inboxes. If one shows as needing attention, the grant itself has changed on the admin's side; the card offers Ask IT to re-approve, which generates a fresh link.
Providers such as Litemail, Mailforge, Mailreef and Zapmail hand you a spreadsheet: one row per inbox with its address and a password. Upload that file and Monty connects every inbox in it, signing in to each one in the background. Most of these inboxes are Google Workspace accounts, and Google only lets a tool like Monty in with an app password — a separate 16-letter code, not the password you would type at gmail.com. So the one thing to check before you upload is that your file has those.
- 1Find the file with the app passwords. Providers often send two or three files; the one you want has a column called App Password with 16 letters in each row (Google shows them as four groups of four, like abcd efgh ijkl mnop). A file with a Password column but an empty App Password column is not ready — ask the provider to fill it in, or make the app passwords yourself.
- 2You do not need to add anything. Email and App Password are enough for Google inboxes: Monty works out the mail servers from the address. Server names, ports, first and last names and a daily limit are read when present and ignored when not. If your file has both a Password and an App Password column, Monty uses the app password and tells you the other was ignored.
- 3In Monty, open Settings → Integrations → Connect → Upload from your provider (CSV) and drop the file. The preview says how many rows are ready, which columns it read, and — for any row it cannot take — exactly what to change. Nothing is created until you click Import.
- 4Click Import. The inboxes appear in Mailboxes switched off. Monty signs in to each one over IMAP and SMTP and switches it on when both work; ten inboxes take a few seconds, a hundred about a minute. A row that turns red says why, and the guide linked below decodes each reason.
- 5Re-uploading is safe. An address already in the list is updated in place, not duplicated, and does not take a new slot — so fix the rows that failed and drop the file again.
If the file still says imap.example.com or smtp.example.com in a server column, that is a template the provider never filled in. Monty treats it as blank and fills in the real servers for Google inboxes; for any other provider, ask them for the IMAP and SMTP server names.
An app password is a 16-letter code Google issues per mailbox so a tool like Monty can sign in without the account password. Google stopped accepting account passwords from mail tools in 2024, so every Google Workspace inbox you upload needs one. There are two ways to get them, and the first is usually quicker.
- 1Ask the provider. Reply to whoever sold you the inboxes: “Please send app passwords for all the mailboxes — the App Password column in your file is empty.” They have the accounts open already; most send a filled file the same day. Litemail, for example, returns a CSV with Domain, Email, Password, App Name and App Password columns, which uploads to Monty as-is.
- 2Or make them yourself, one mailbox at a time. Sign in to the mailbox at google.com with the password from the provider's file. Click your picture → Manage your Google Account → Security.
- 3Turn on 2-Step Verification if it is off. Google will not show the App passwords option until it is on. A phone number or the Google Authenticator app both work.
- 4Back on Security, open App passwords (search for it in the account settings if you cannot see it), type a name such as Monty, and click Create. Google shows the 16 letters once.
- 5Paste them into that row's App Password column in your file — with or without the spaces, Monty accepts both. Repeat for each mailbox, save, and upload.
If App passwords is missing even with 2-Step Verification on, the Workspace admin has switched it off for the domain. For inboxes you bought, that admin is the provider — ask them to enable it under Admin console → Security → 2-Step Verification → allow users to create app passwords. For your own company's Google Workspace, skip app passwords entirely and use Connect your whole team: one approval by IT, no passwords anywhere.
Gmail and Google Workspace, Microsoft Outlook and Microsoft 365, and any inbox that speaks IMAP and SMTP — which is how inboxes bought from a mailbox provider connect. Google and Microsoft inboxes connect either through the provider's official sign-in for one person, or through one approval by your IT admin for the whole team; neither involves your password. Monty sends from your real address through your own mailbox, never a relay domain, so your reply arrives from the person your lead already knows. Self-hosted or on-premise Exchange is the one setup we do not support yet; contact us if it is a blocker and we'll tell you honestly where it sits on the roadmap.
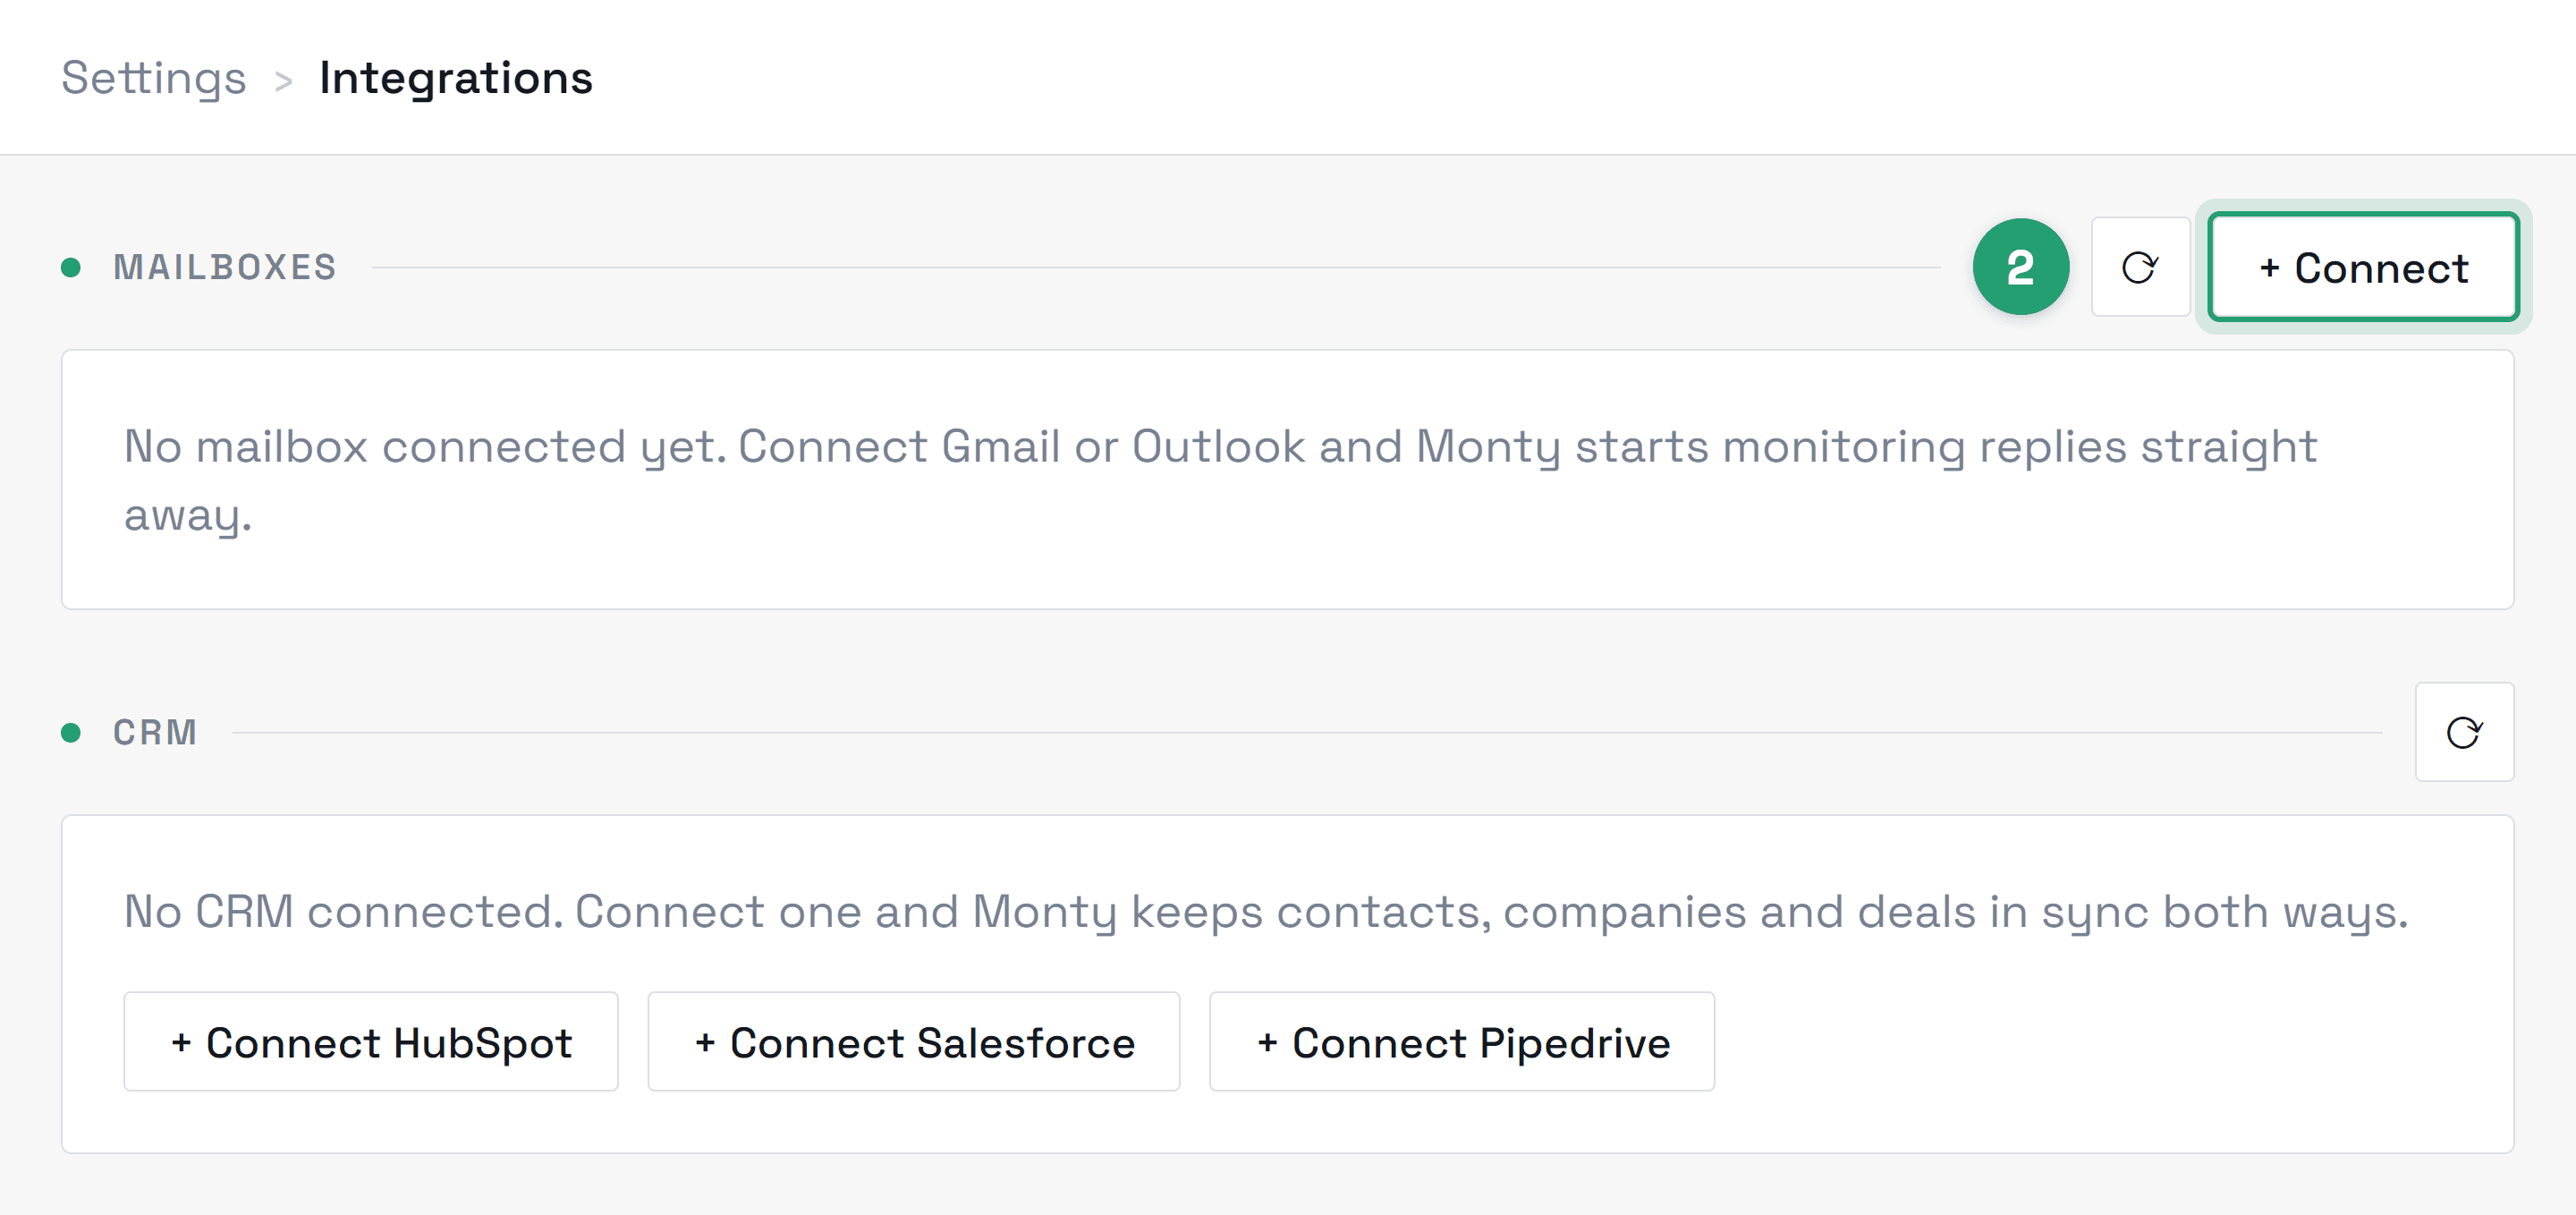
When you sign in yourself: read, send, and manage messages on the specific mailbox you connect — that's what lets Monty see incoming lead replies, place drafts or sends in the thread, and keep it organized. It does not request access to your contacts, files, or any other mailbox in your organization, and the mailbox connection never asks for calendar access (if you later enable meeting booking, that's a separate calendar-only consent you approve explicitly). You can see the exact scopes on the provider's consent screen before you accept, and revoke them at any time from your Google account security page. When your IT admin approves Monty for the whole team, the grant is broader on paper — it covers every user on the domain, because that is how Google's domain-wide delegation and Microsoft's application permissions work — plus read-only access to the user directory so your team can pick inboxes. Monty acts only for the inboxes your team ticks, records each grant so it can be checked daily, and the admin can remove it in one place at any time.
None at the moment. Contacts come into Monty as a CSV: export the list from your CRM and upload it under Contacts → Add contacts. Monty keeps its own record of every conversation, so nothing is lost while there is no sync. If your team needs a live CRM connection, email hello@montyai.co and tell us which one — that is what decides which we build first.
Work through these in order:
- 1Connecting a whole team rather than your own inbox? Skip the sign-in buttons: Connect → Your whole team hands your IT admin one approval and nobody signs in. The steps below are for the per-person buttons.
- 2If the button is greyed out and marked Unavailable, that provider is not enabled on this deployment — it is on us, not your browser. Email hello@montyai.co and we will say when it lands.
- 3For Google: check whether your company admin restricts third-party OAuth apps. Your Google Workspace admin may need to approve Monty before consent succeeds; that's a one-time approval on their side.
- 4Make sure your browser isn't blocking cookies or redirects. Signing in with Google sends you to Google in the same tab and back again; when you're connecting a mailbox, the consent screen opens in the same tab or a new one depending on where you connect from, so allow pop-ups for montyai.co if nothing appears.
- 5Retry once, in case the provider was briefly unavailable.
- 6Still stuck, or seeing a plain-text error page instead of the provider's consent screen? That's on us — email hello@montyai.co with a screenshot and the time it happened, and we'll trace it.
Yes, and it's immediate: Settings → Integrations → Disconnect stops all reading and sending on that mailbox the moment you click, and removes the stored credentials. Revoking Monty's access from your Google account security page stops Monty renewing access from the provider's side, and any session already in flight ends within the hour. Your conversation history in Monty stays intact either way, so reconnecting later picks up where you left off.
Yes, as long as the shared address is a real mailbox someone can sign in to — a Google Workspace or Microsoft 365 user account for sales@yourcompany.com, for example. Connect it like any other mailbox and its drafts land in the same approval queue, visible to your workspace for review. Each approval is attributed to the person who made it, so you keep accountability even on a shared address.
Didn’t find what you needed?
Contact supportRelated topics
All topicsGetting started
Connect your inbox, set up your voice profile, and send your first drafts.
Account & billing
Plans, credits, seats, invoices, and managing your workspace.
Using Monty
Assisted, Autopilot, follow-ups, and day-to-day workflow.
Security & privacy
How we protect your data, who can see it, and your export and deletion controls.
Troubleshooting
Sign-in, sync issues, drafts, and getting unstuck.